The Squeezebox Touch can be set up to use a Static IP. To do this, try the following:
NOTE: To set up your Squeezebox to Touch to use a static IP, the DHCP Server on your router must be disabled.
Please select your preferred connection method below:
Connect Squeezebox Touch via Wireless:
Wireless is the default connection method. To connect your Squeezebox Touch wirelessly, please do the following:
-
Plug in your Squeezebox Touch to an A/C power outlet.
-
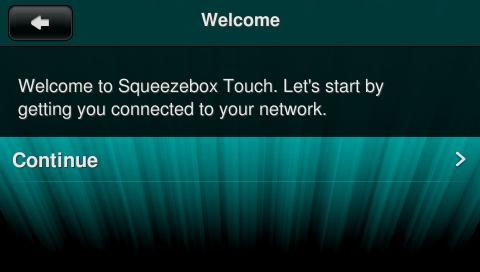
Select your preferred language as shown below:

-
Click Continue:

-
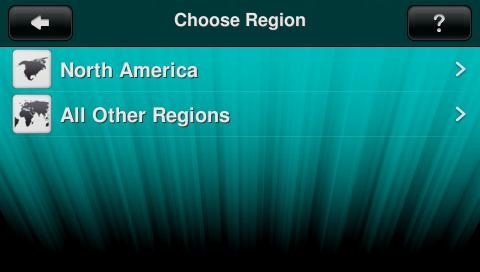
Choose your Region:

-
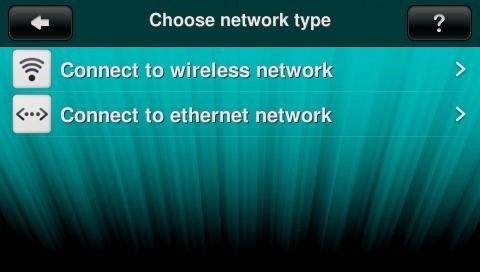
Select ‘Connect to a wireless network’:

-
You will see a list of available wireless networks. Select the wireless network you wish to connect to:

-
You may need to enter an encryption key. Enter your encryption key and press Done on the Squeezebox Touch screen.

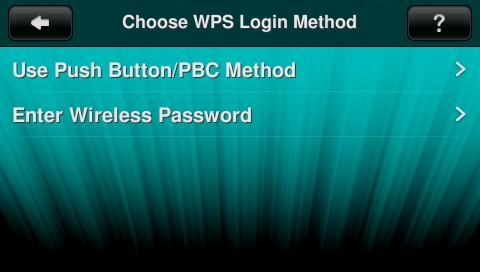
If your router has the WPS feature, you may see the following screen:

If your router has the WPS feature, and you wish to use the Push Button PBC method of connecting do the following:
-
Choose “Use Push Button/PBC Method:
-
Choose Start Timer:

-
Go to your router and push the WPS button.
-
-
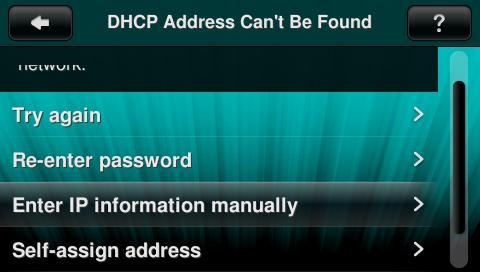
Choose “Enter IP information manually” on the screen as shown below:
-
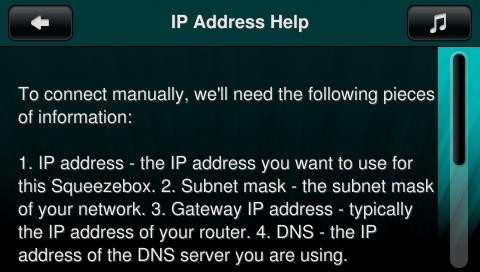
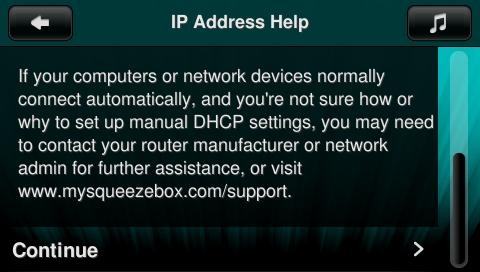
You will see the following screen explaining what is needed to manually connect the Squeezebox Touch to a network using a Static IP. Scroll down on the screen to view the remaining information, then choose Continue:
-
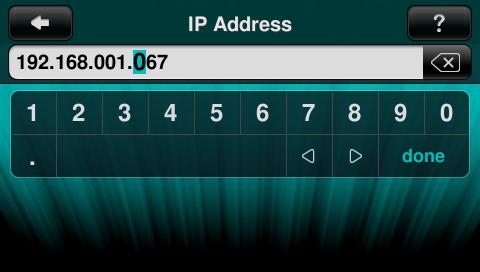
Enter the IP address you want to use for your Squeezebox Touch and press Done:
-
Enter the Subnet Mask and press Done:

-
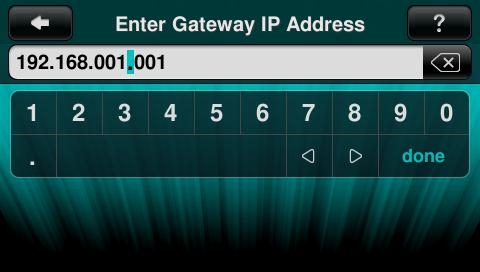
Enter the Gateway IP and press Done:
-
Enter the DNS Server IP and press Done:

-
Your Squeezebox Touch will connect to the MySqueezebox.com server.
NOTE: The server may update your Squeezebox Touch firmware.
-
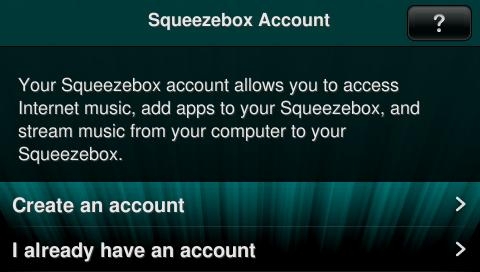
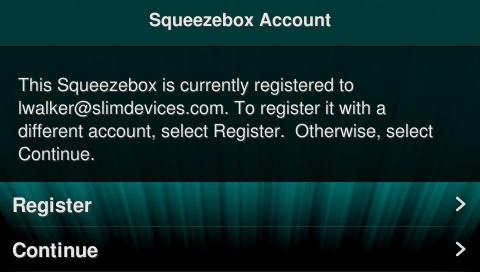
Select ‘Create an account’ if you do not have a Squeezebox account, otherwise select ‘I already have an account’.

NOTE: If you have already registered your Squeezebox Touch, select Continue and go to Step 20. To register it with a different account, select Register.

-
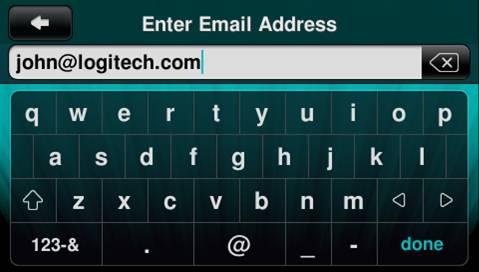
Enter your email address and press ‘Done’ on the Squeezebox Touch screen.

-
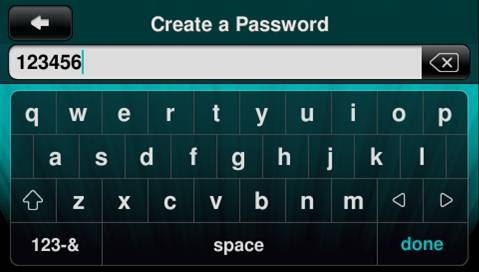
Select ‘Create a Password’ and enter or create the password for your MySqueezebox.com account.

-
Once you have entered your password, press ‘Done’ on the Squeezebox Touch screen.
-
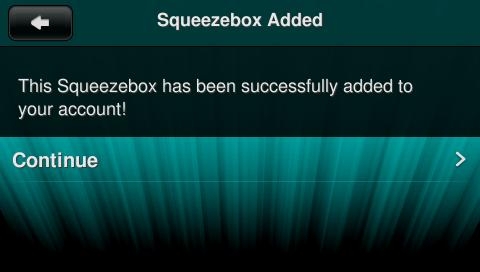
Press Continue on the Squeezebox Touch screen.
-
Your Squeezebox Touch should now be wirelessly connected.
Connect Squeezebox Touch via Ethernet:
You can connect your Squeezebox Touch via a wired (Ethernet) connection. To connect via an Ethernet connection, please do the following:
-
Plug in your Squeezebox Touch to an A/C power outlet.
-
Select your preferred language as shown below:

-
Click Continue:
-
Choose your Region:
-
Select ‘Connect to ethernet network’:
-
Choose “Enter IP information manually” on the screen as shown below:
-
You will see the following screen explaining what is needed to manually connect the Squeezebox Touch to a network using a Static IP. Scroll down on the screen to view the remaining information, then choose Continue:
-
Enter the IP address you want to use for your Squeezebox Touch and press Done:
-
Enter the Subnet Mask and press Done:
-
Enter the Gateway IP and press Done:
-
Enter the DNS Server IP and press Done:
-
Your Squeezebox Touch will connect to the MySqueezebox.com server.
NOTE: The server may update your Squeezebox Touch firmware.
-
Select ‘Create an account’ if you do not have a Squeezebox account, otherwise select ‘I already have an account’.
NOTE: If you have already registered your Squeezebox Touch, select Continue and go to Step 18. To register it with a different account, select Register.
-
Enter your email address and press ‘Done’ on the Squeezebox Touch screen.
-
Select ‘Create a Password’ and enter or create the password for your MySqueezebox.com account.
-
Once you have entered your password, press ‘Done’ on the Squeezebox Touch screen.
-
Press Continue on the Squeezebox Touch screen.
-
Your Squeezebox Touch should now be connected via Ethernet.
Additional Information:
If the above solutions do not resolve your problem, consult Knowledge Base article 16310 for instructions on contacting Logitech Technical Support.
Important Notice: The Firmware Update Tool is no longer supported or maintained by Logitech. We highly recommend using Logi Options+ for your supported Logitech devices. We are here to assist you during this transition.
Important Notice: The Logitech Preference Manager is no longer supported or maintained by Logitech. We highly recommend using Logi Options+ for your supported Logitech devices. We are here to assist you during this transition.
Important Notice: The Logitech Control Center is no longer supported or maintained by Logitech. We highly recommend using Logi Options+ for your supported Logitech devices. We are here to assist you during this transition.
Important Notice: The Logitech Connection Utility is no longer supported or maintained by Logitech. We highly recommend using Logi Options+ for your supported Logitech devices. We are here to assist you during this transition.
Important Notice: The Unifying Software is no longer supported or maintained by Logitech. We highly recommend using Logi Options+ for your supported Logitech devices. We are here to assist you during this transition.
Important Notice: The SetPoint software is no longer supported or maintained by Logitech. We highly recommend using Logi Options+ for your supported Logitech devices. We are here to assist you during this transition.
Frequently Asked Questions
There are no products available for this section
There are no Downloads for this Product
There are no Downloads for this Version
Compatible Product
