When you first set up your Harmony remote, you’ll be prompted to add each device in your home entertainment system (for example, TV, cable or satellite receiver, DVD player, VCR, etc.) to your Harmony account. Your Harmony remote can control up to 4 devices.
To get started with your Harmony 300 remote
1. Go to myharmony.com.
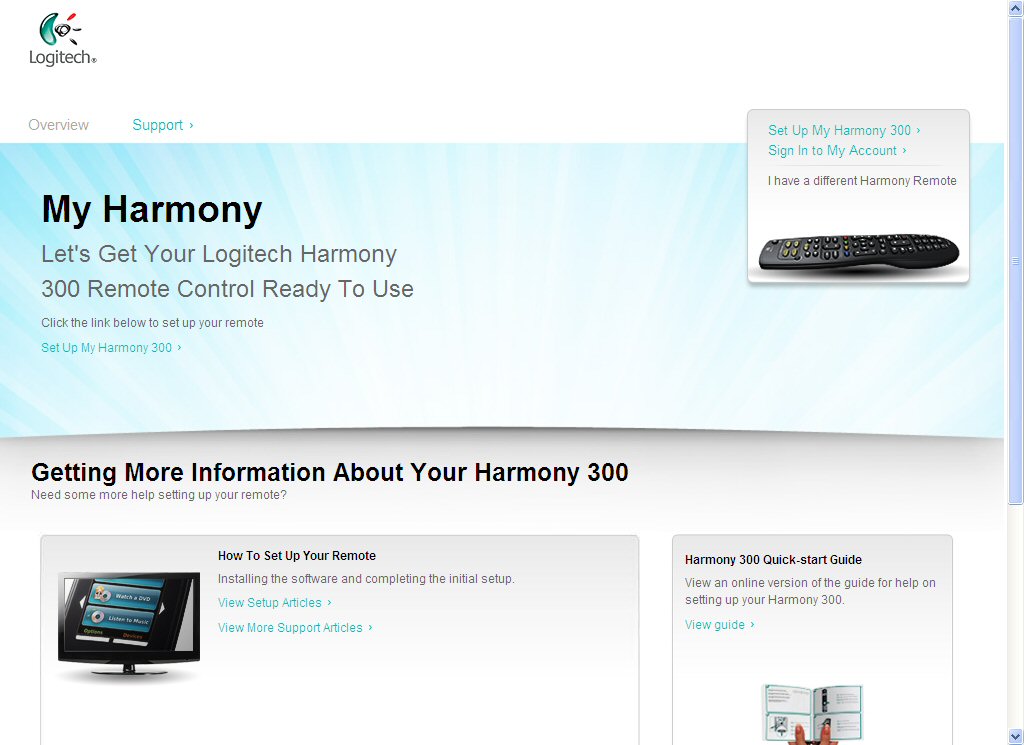
2. Click Set Up My Harmony 300.
3. On the Create an Account page, fill out the required information, and then click Next.
4. Follow the on-screen instructions to install the Harmony software. The following page appears.

5. Once you’re ready to start adding devices to your account, click Next. The following page appears.

Before your Harmony remote can control your home entertainment devices, we’ll need to know the manufacturer and model number information for each device you want to control.
If you haven’t done so already, take a few minutes to locate and record the manufacturer and model number information for each of your home entertainment devices. If you’d like help finding the required information, see Knowledge Base article 360023217854.
6. Once you’ve recorded the manufacturer and model number information for your devices, click Next. The following page appears.

7. Enter the manufacturer name of the first device you want to add to your account. As you type, a list matching your entry appears. The list will continue refining as you type so keep typing until you see your manufacturer. Once you do, click it. If you’ve finished typing your manufacturer name and it didn’t appear in the list, don’t worry – we’ll determine the device after you click Add. For now, check to make sure the name you entered matches the name of your device exactly.
8. Enter the model number of the first device you want to add to your account, checking to make sure the model number you entered matches the model number of your device exactly.
9. When you’ve entered the manufacturer and model number, click Add. If the information you entered matches an entry in our database, you’ll be prompted to confirm that the model number we’ve recorded for your device is correct.

If the model number you entered doesn’t match an entry in our database, see Knowledge Base article 15519.
10. Confirm that the model number shown matches the model number of your device. If the model number doesn’t match, click No to return to the previous page and re-enter the information. If the model number matches, click Yes to continue. The following page appears showing that the device has been successfully added to your account and prompting you to add additional devices.

11. If you’d like to add another device, click Yes to continue, then repeat steps 7 through 10 to add your next device.
12. When you’ve finished adding devices, click No. The following page appears.

13. Connect your Harmony remote to your computer using the USB cable then click Sync Remote. The following page appears showing you the progress as your Harmony remote is updated with your device information.

The sync process could take a few minutes as your Harmony remote is updated with your account information. During the update, do not unplug your Harmony remote unless prompted to do so. When the sync is complete and your Harmony remote has been successfully updated, the following confirmation prompt appears.

14. Congratulations! You’ve finished setting up your Harmony remote. Click OK to display the home page – where you can further customize your remote settings and make additional changes to your Harmony account.
Important Notice: The Firmware Update Tool is no longer supported or maintained by Logitech. We highly recommend using Logi Options+ for your supported Logitech devices. We are here to assist you during this transition.
Important Notice: The Logitech Preference Manager is no longer supported or maintained by Logitech. We highly recommend using Logi Options+ for your supported Logitech devices. We are here to assist you during this transition.
Important Notice: The Logitech Control Center is no longer supported or maintained by Logitech. We highly recommend using Logi Options+ for your supported Logitech devices. We are here to assist you during this transition.
Important Notice: The Logitech Connection Utility is no longer supported or maintained by Logitech. We highly recommend using Logi Options+ for your supported Logitech devices. We are here to assist you during this transition.
Important Notice: The Unifying Software is no longer supported or maintained by Logitech. We highly recommend using Logi Options+ for your supported Logitech devices. We are here to assist you during this transition.
Important Notice: The SetPoint software is no longer supported or maintained by Logitech. We highly recommend using Logi Options+ for your supported Logitech devices. We are here to assist you during this transition.
Frequently Asked Questions
There are no products available for this section
There are no Downloads for this Product
There are no Downloads for this Version
Compatible Product
