


To use Skype with your Logitech webcam, please do the following:
Verify the Logitech webcam is functional:
-
Launch the following:
- QuickCam software (Start > Programs > Logitech > Logitech QuickCam)
- Logitech Webcam Software or LWS (Start > Programs > Logitech > Logitech Webcam Software > Logitech Webcam Software)
-
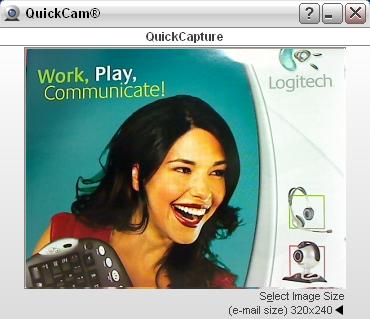
Verify that you can see yourself in the webcam software window as shown below:

-
Close the webcam software window.
Configuring Skype:
NOTE: The following screenshots use the QuickCam Pro 9000 as an example. Aside from specifying the Logitech webcam, the screens are otherwise as shown below.
-
Launch Skype (Start > Programs > Skype > Skype)
-
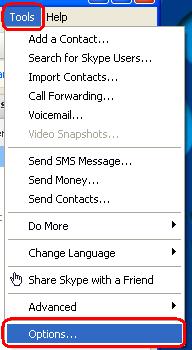
Select Options from the Tools menu as shown below:
-
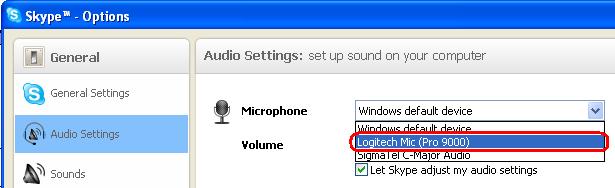
Select Audio Settings from the sidebar and choose your Logitech webcam microphone from the drop-down menu as shown below:
-
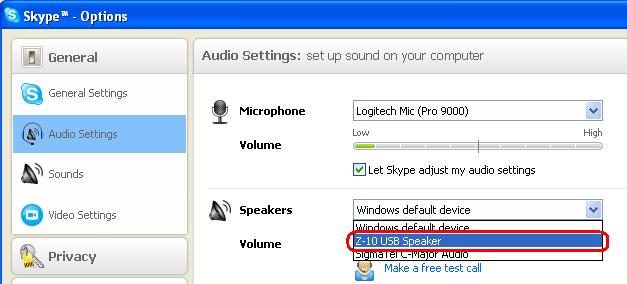
Choose the speakers or headphones you want to use from the drop-down menu as shown below:
-
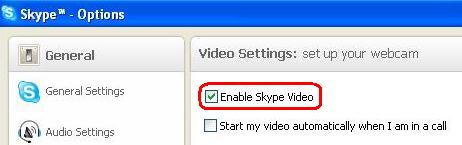
Select Video Settings from the sidebar and check "Enable Skype Video" as shown below:
-
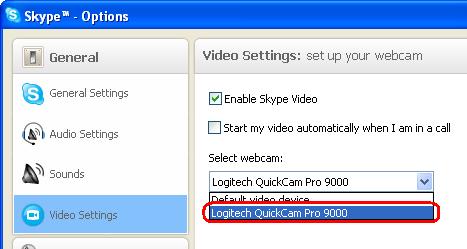
Choose your Logitech webcam from the drop-down menu as shown below:
-
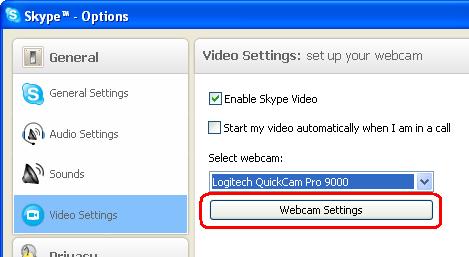
Your Logitech webcam should now be correctly configured for use with Skype. If you need to adjust the settings further, click Webcam Settings as shown below:
-
To video chat with a friend in Skype, open a chat window as shown below:
-
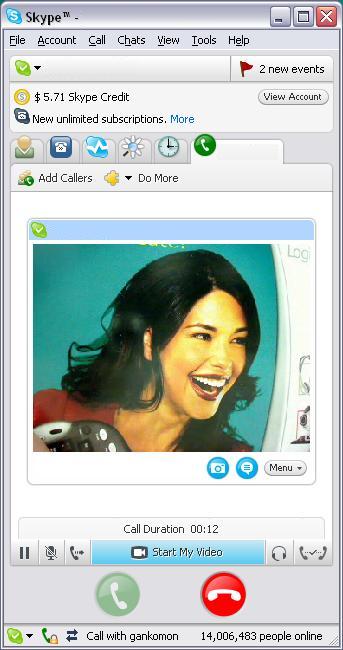
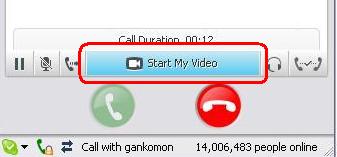
Click on the Start My Video button as shown below:
-
You should now be video chatting with your friend.
NOTE: You and your friend both need to have cameras, be using Skype and accept each other’s video feeds in order to video chat.
Frequently Asked Questions
Compatible Product
